Demo
This guide describes the setup for a quick demo installation of TraqBio.
The command line code shown here indicates the entered commands by a $ prefix.
Lines without the prefix are output from the previous entered command.
Setup
TraqBio has been tested with Java 7 and Java 8.
We recommended to use Java 8.
Linux, Mac
First create a directory traqbio-test:
/home/youruser$ mkdir /path/to/traqbio-test
/home/youruser$ cd /path/to/traqbio-test
Download the current release (1.3.8)
of TraqBio and the exemplary keystore.jks into the created traqbio-test directory.
The files should be listed when you run the following command:
/path/to/traqbio-test$ ls
keystore.jks  traqbio-1.3.8.jar
To create an initial configuration file and an initial database run the following command:
/path/to/traqbio-test$ java -jar traqbio-1.3.8.jar init
This command should not produce any output but creates the configuration file traqbio.conf and the database file traqbio.db.
You can verify this as follows:
/path/to/traqbio-test$ ls
keystore.jks  traqbio-1.3.8.jar  traqbio.conf  traqbio.db
Optionally, you can import the Proteomics workflows from proteomics.init or the Genomics workflows from genomics.init. The template file containing the workflows needs to be specified in the initialisation then as follows:
/path/to/traqbio-test$ java -jar traqbio-1.3.8.jar init -t proteomics.init
Finally, you can start TraqBio with:
/path/to/traqbio-test$ java -jar traqbio-1.3.8.jar run
TraqBio started - Server listening on:
http://localhost:8000
https://localhost:8443
Windows
Create a directory TraqBioTest for the test and download the current release (1.3.8)
of TraqBio and the exemplary keystore.jks into that directory.
Open a command line in the TraqBioTest directory.
To create an initial configuration file and an initial database run the following command:
C:\path\to\TraqBioTest> java -jar traqbio-1.3.8.jar init
This command should not produce any output but creates the configuration file traqbio.conf and the database file traqbio.db.
Optionally, you can import the Proteomics workflows from proteomics.init or the Genomics workflows from genomics.init.
The template file containing the workflows needs to be specified in the initialisation then as follows:
C:\path\to\TraqBioTest> java -jar traqbio-1.3.8.jar init -t proteomics.init
Finally, you can start TraqBio with:
C:\path\to\TraqBioTest> java -jar traqbio-1.3.8.jar run
TraqBio started - Server listening on:
http://localhost:8000
https://localhost:8443
TraqBio Login
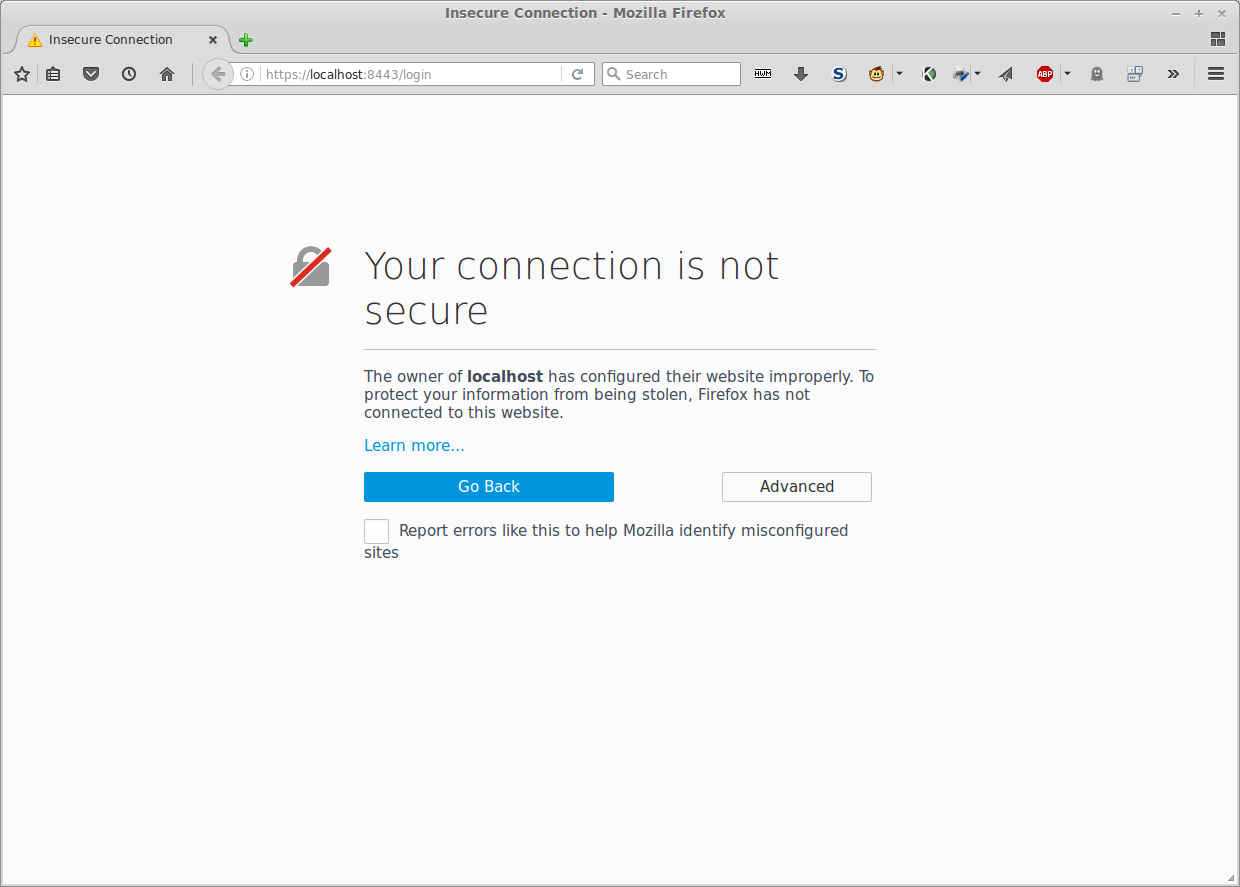
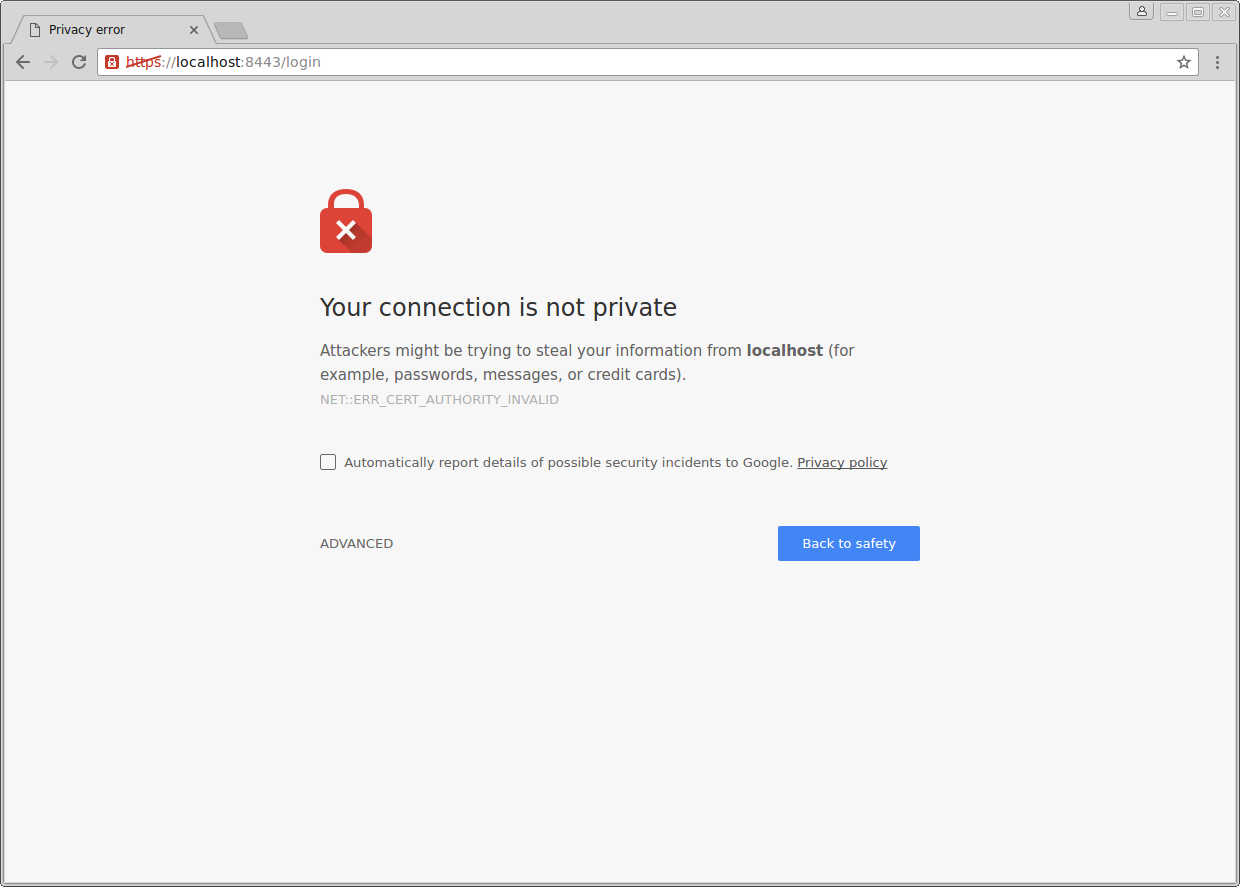
The output on the command line indicates that TraqBio can be accessed from a web browser under https://localhost:8443. Following the instructions for this demo, you have set up TraqBio with a self-signed certificate. Hence, web browsers will warn you about that (see the following screenshots). In Firefox and Chrome you can add a temporary exception for the certificate by clicking on Advanced.
Firefox:

Chrome:

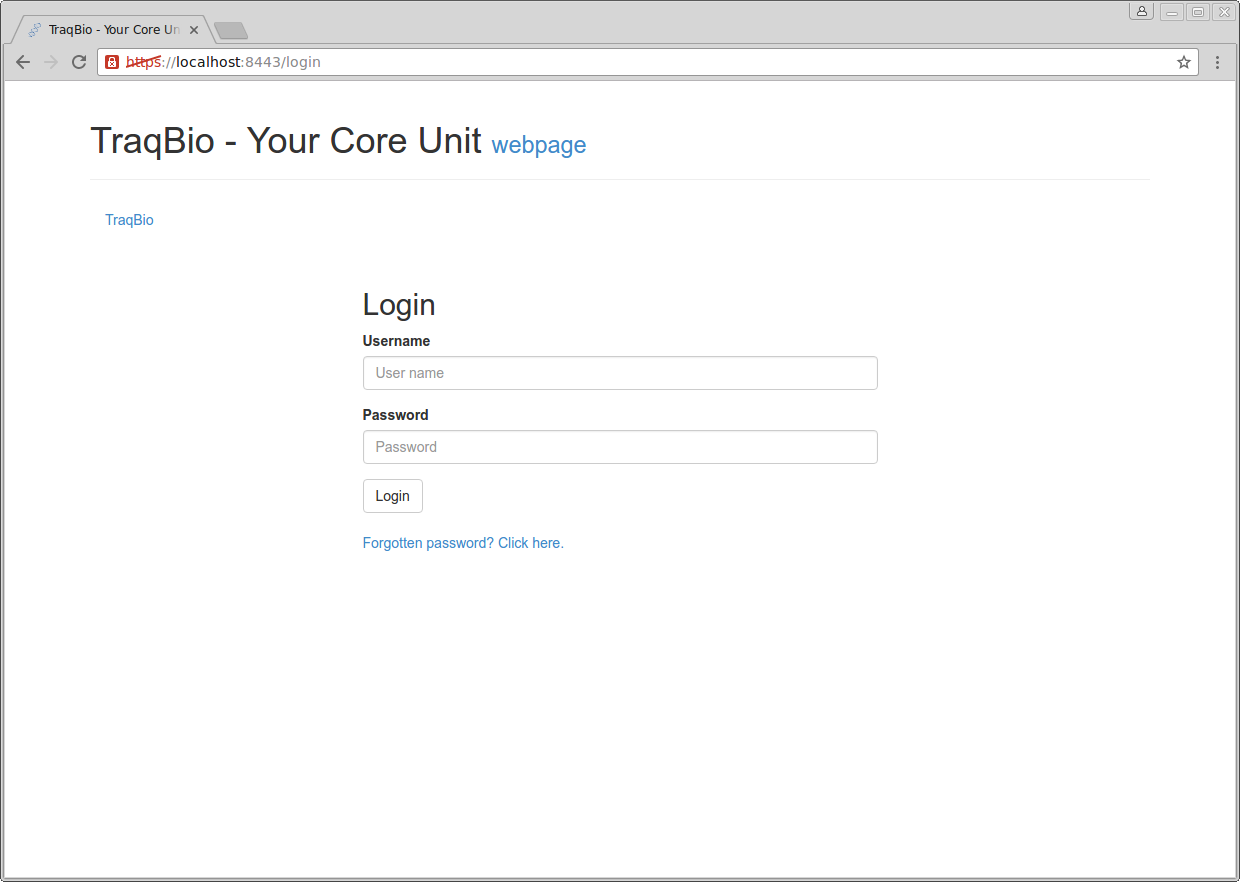
After adding the temporary exception for the certificate, you will be presented with login page of TraqBio.
 The default credentials for the administrator account are the following:
| User name | Password |
|---|---|
| admin | traqbio |
Enable E-mail Notification
E-mail notification is disabled by default since the technical details of the employed e-mail account need to be configured.
In the configuration file traqbio.conf there is a section containing the e-mail configuration which looks like:
:mail-config
 {:host-config
  {:host "mail.uni-ulm.de",
   :user "jsmith",
   :pass "secret",
   :tls :yes,
   :port 587},
  :from "john.smith@uni-ulm.de",
  ...
  :send-mail? false},
To enable the e-mail notification the key :send-mail? needs to be set to true.
Furthermore, you need to provide the address of your e-mail provider (:host and :port),
your e-mail user account (:user) and password (:pass).
The above example configures e-mail notification for TLS encrypted access to the mail server of Ulm University for a user “John Smith” with user account “jsmith”. More details can be found in Section E-mail Settings in the Setup documentation.